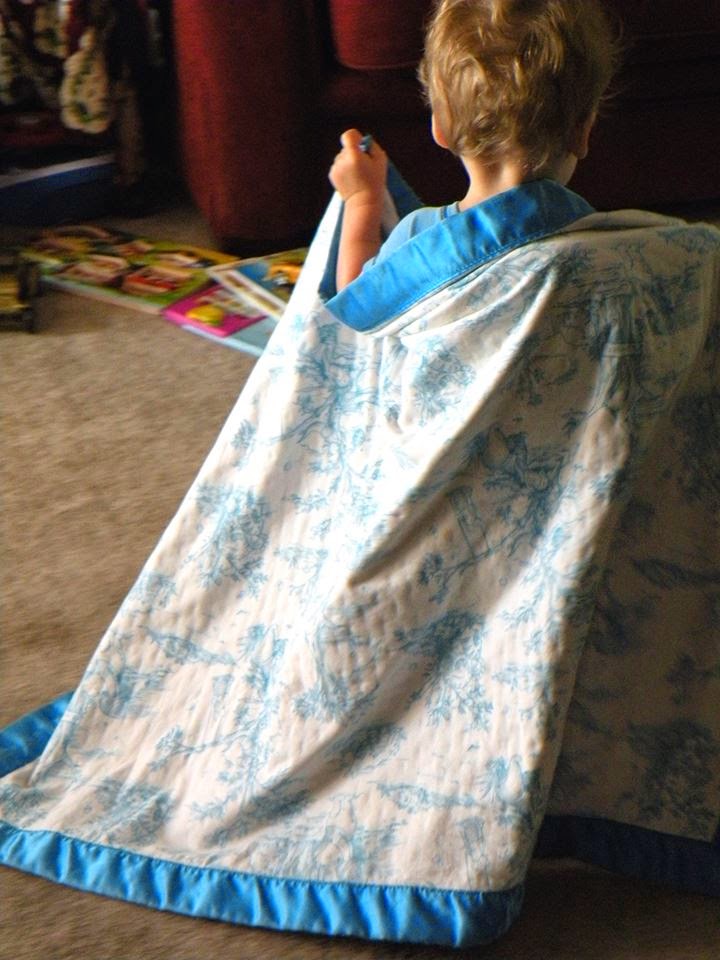
I see warm, drapey blanket ponchos everywhere I look these days! They are just perfect for wearing on a hayride, sleigh-ride, or roasting marshmallows outside.
As a sewing person I inspect clothing constantly to see how it's constructed. It's a little embarrassing sometimes when I get a raised eyebrow from friends who haven't shopped with me before, or from fellow customers in a store. My kids just tell them, "My mom is seeing how she can make that!" Well, this one is just TOO easy not to share. Grab a yard and a half or so of a beautifully printed, non-fraying fabric and you are literally 10-minutes away from finishing one of these! If your fabric of choice needs to be hemmed to prevent fraying, make that 20-30 minutes tops. For mine, I used fleece.
STEP #1: MEASURE
This project is essentially just a rectangle. To get your size, take the following two measurements:
First, you will get your width measurement. Have your child stand with both arms straight out, or you can lay a long-sleeved tee shirt flat on the floor with arms out. Either way will work. Measure from the point at about mid-forearm to the same point on the other arm. Mine was 30 inches across.
Next, you need your length. Measure from the top of the shoulder to about half-way between waist and knee. Mine was 24 inches. Double that length as you'll be folding the poncho over front and back.
STEP #2: CUT
Lay out your fabric with the direction of stretch running horizontally and cut a rectangle using your length and width measurements.
Now, find and mark the middle point of your rectangle.
STEP #3: FRONT SLIT
Cut a straight line from the mid-point of your bottom edge up to the middle point of the rectangle. Toward the top of the slit, you may want to round out a narrow tear drop shape for a smoother neckline. You can also use scissors to round the corners of desired.
If your fabric is prone to fraying, now is the time to sew a regular or rolled hem all the way around the cut edges.
STEP #4: SIDE STITCHES
Fold your rectangle in half from top to bottom with wrong-sides-together, so that the slit is in front. Find the mid-point of the right and left edges. Stitch a horizontal line about 2 inches long on both sides as shown. This will form your arm opening.
STEP #5: CLOSURE
You may stop here if you'd like, or add a front closure. I had two buttons and a hair elastic on hand; but a toggle, frog clasp, or button with button-hole would work well too!
If using an elastic loop closure, simply stitch down your elastic on one side, about halfway down the front slit.
Attach buttons: one covering up the stitched-down end of your elastic, and one on the other side of the slit.
Voila! You are finished:) Just like that!
Send her out to enjoy the cool weather in her new Cozy Poncho.
I hope you enjoyed this free tutorial! Check out the Ruby & Jack Pattern Shop on Etsy to find more fun projects to sew.


